


Editing stickers
Note: You can only change the names of sticker sets that have not yet been submitted for review or sold.
1. Select the sticker set.
2. Tap the title field and enter a new name for the set.
3. Tap Done.
Was this page helpful?
Thank you for your feedback.
Sorry about that. What went wrong?
Note:
- Do not enter any personal information.
- We cannot respond to comments received from this form.
Note: You can only edit stickers that have not yet been submitted for review or sold.
1. Tap the sticker you want to edit.
2. Tap Edit at the top right of the screen.
3. After editing the sticker, tap Save > Save.
You can also edit stickers on LINE Creators Market even after they go on sale. For details, refer to the steps under On LINE Creators Market.
Was this page helpful?
Thank you for your feedback.
Let us know if we can make it better.
Note:
- Do not enter any personal information.
- We cannot respond to comments received from this form.
Sorry about that. What went wrong?
Note:
- Do not enter any personal information.
- We cannot respond to comments received from this form.
1. Start LINE Sticker Maker and tap Stickers.
2. Tap Draw or Take photo, or select a photo from an album on your smartphone and tap Next.
Note:
- Tap Display all to show all of your albums.
- If you make a sticker from a photo, you'll go through a step to trim the photo.
- If you make an animated sticker from a video, you'll go through a step to select the clip to use from the video.
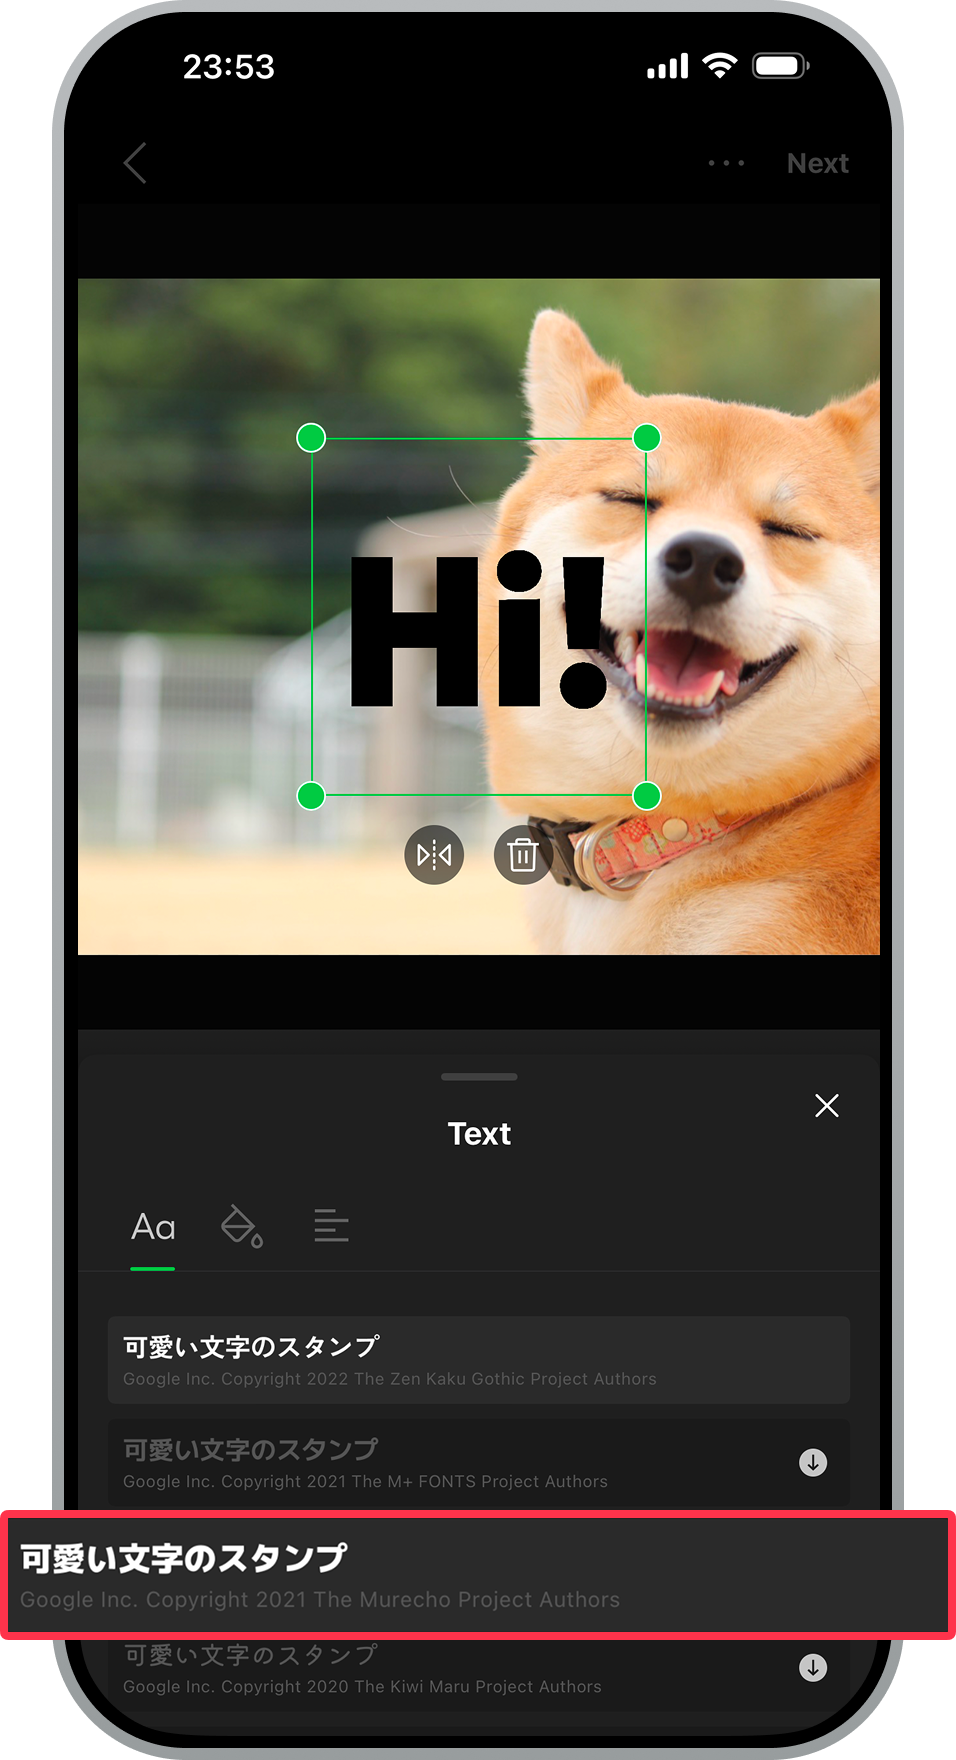
3. On the edit image screen, tap Text.
4. Enter text, then tap Done at the top right of the screen.

5. Tap the font you want to use from the Text list to add it.
Note:
- You can tap an added font to change the one you're using.
- Fonts with a download icon to the right of them haven't been downloaded yet.
Was this page helpful?
Thank you for your feedback.
Let us know if we can make it better.
Note:
- Do not enter any personal information.
- We cannot respond to comments received from this form.
Sorry about that. What went wrong?
Note:
- Do not enter any personal information.
- We cannot respond to comments received from this form.
1. Tap the sticker you want to copy.
2. Tap Copy at the bottom of the screen.
| Stickers | Animated stickers |
|---|---|
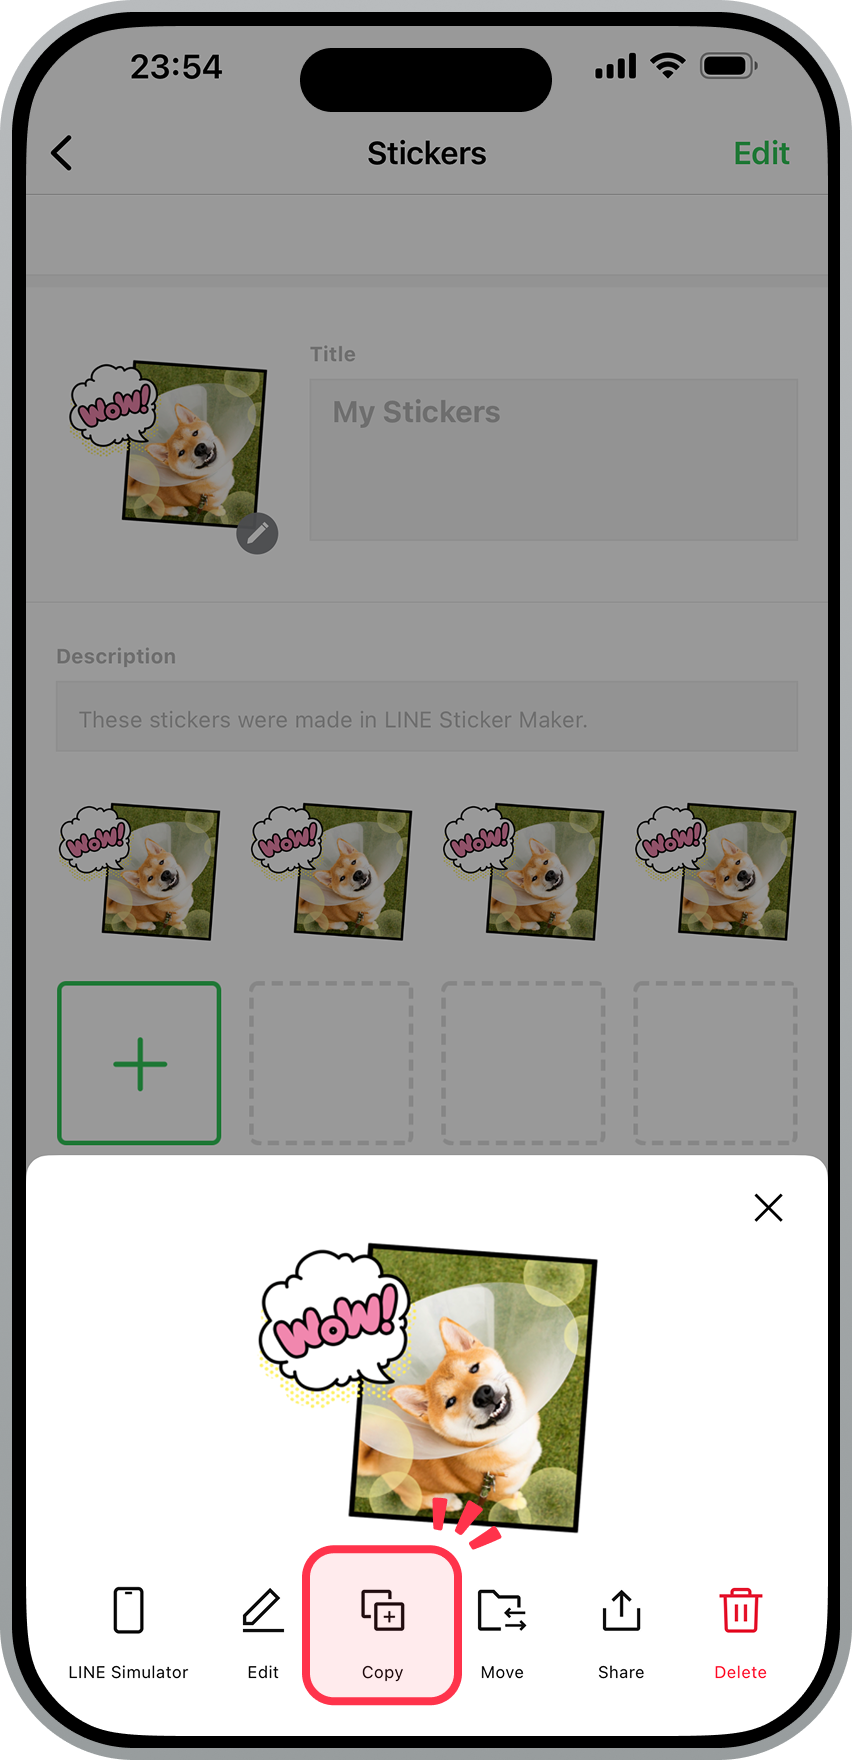
|
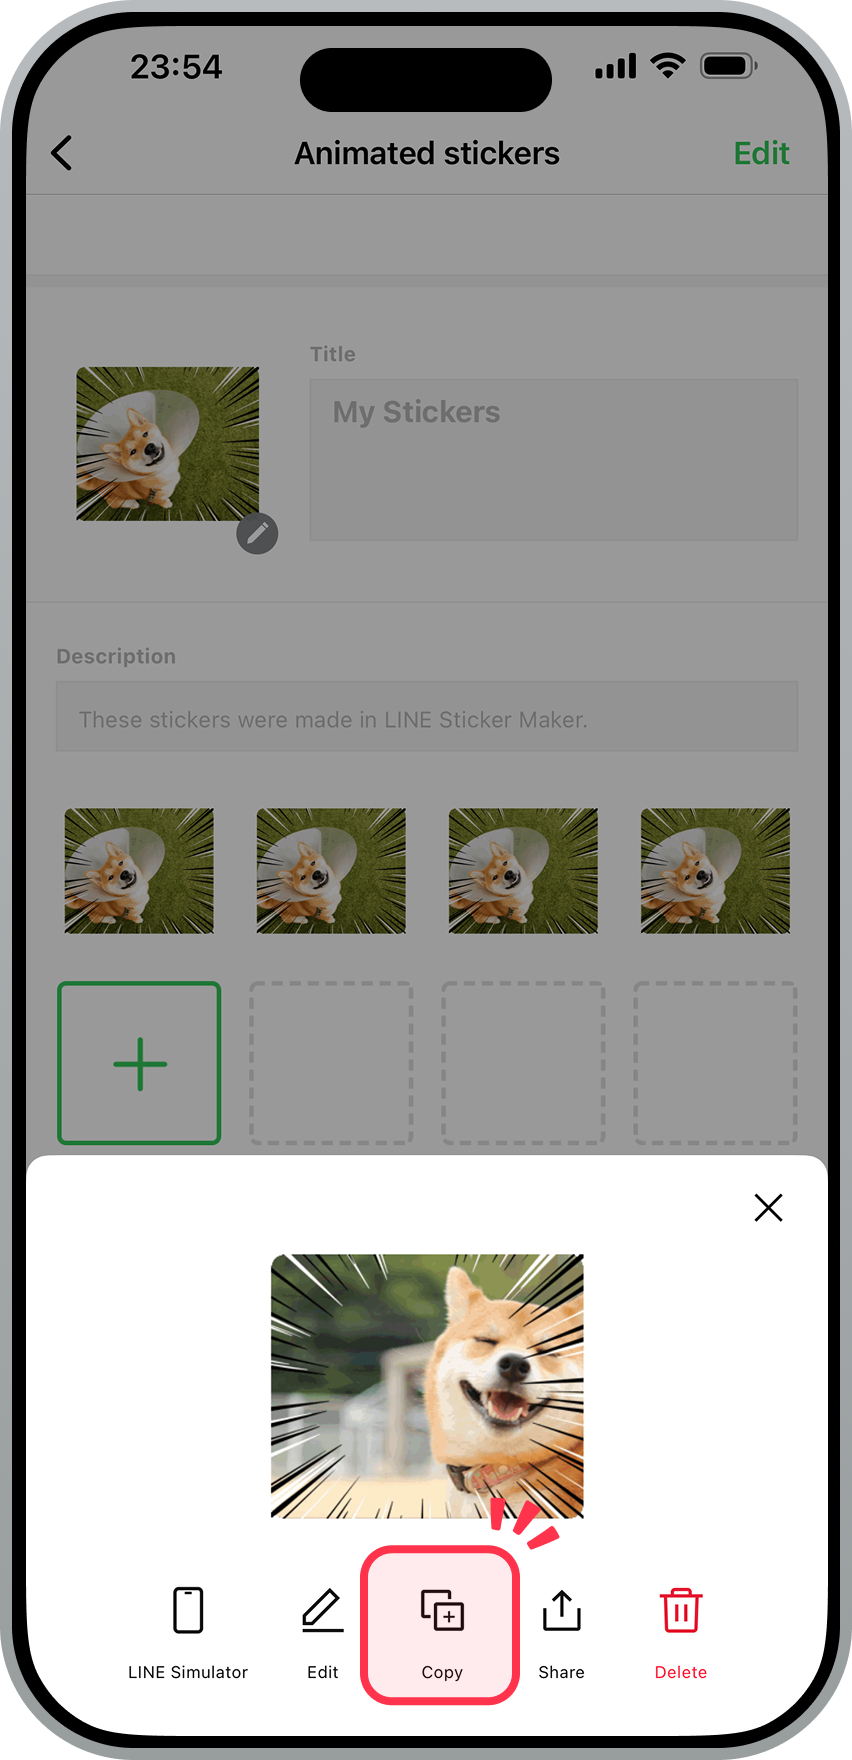 |
Was this page helpful?
Thank you for your feedback.
Let us know if we can make it better.
Note:
- Do not enter any personal information.
- We cannot respond to comments received from this form.
Sorry about that. What went wrong?
Note:
- Do not enter any personal information.
- We cannot respond to comments received from this form.
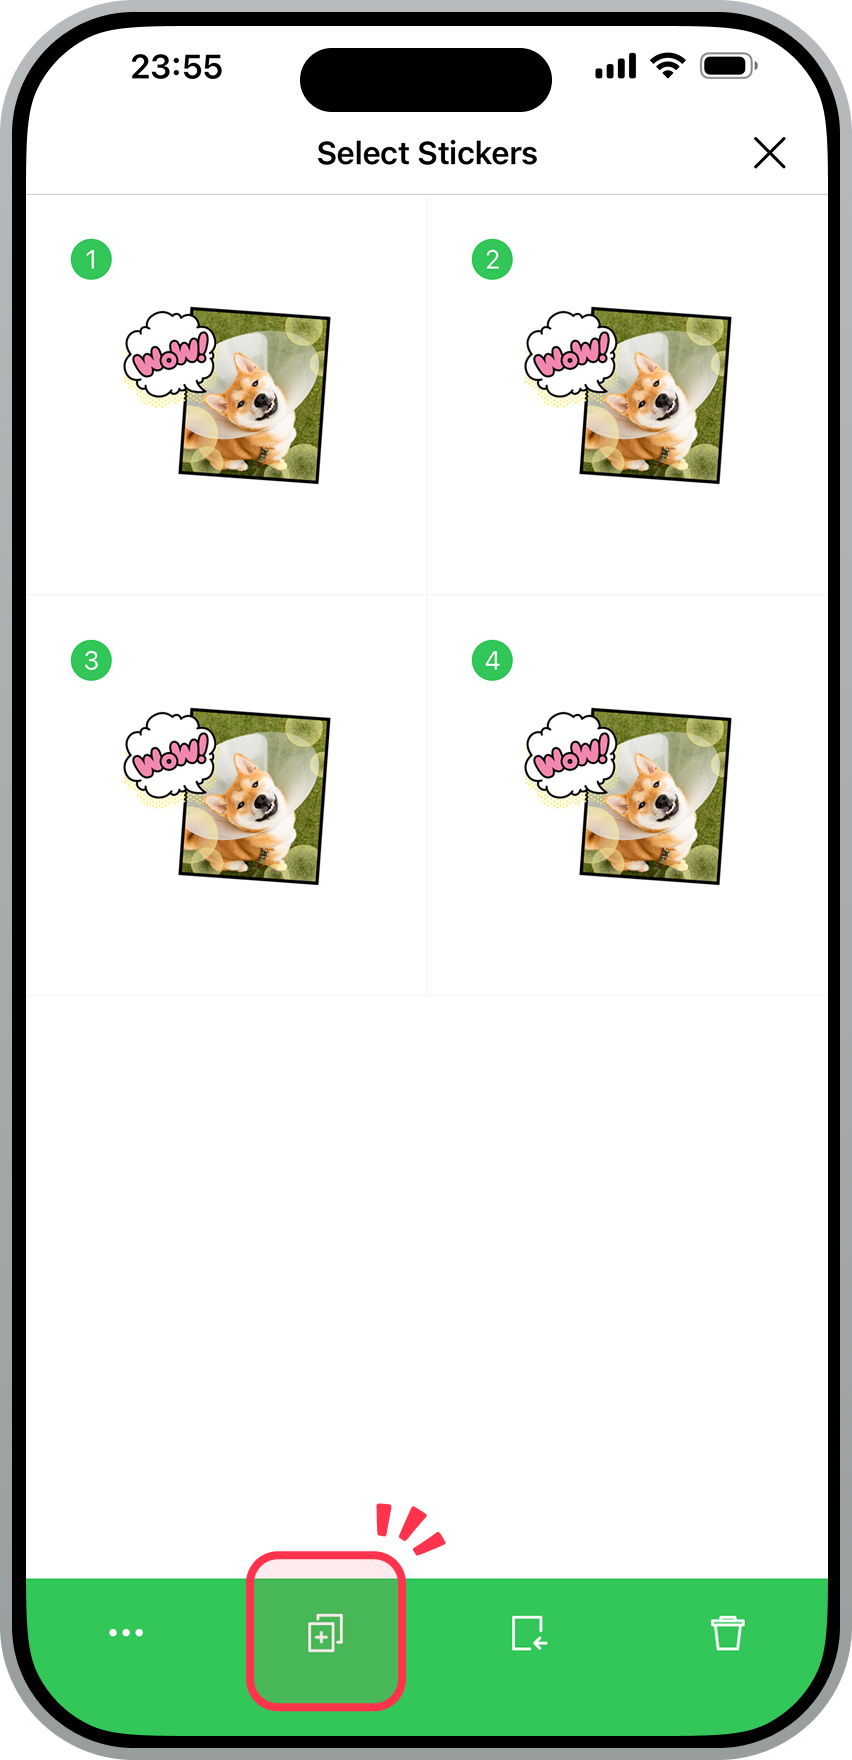
Note: You cannot copy multiple animated stickers at once.
1. Tap the relevant sticker set.
2. At the top right of the screen, tap Edit > Select Stickers.

3. Choose the stickers you want to copy.
4. Tap the copy icon at the bottom of the screen.
Was this page helpful?
Thank you for your feedback.
Let us know if we can make it better.
Note:
- Do not enter any personal information.
- We cannot respond to comments received from this form.
Sorry about that. What went wrong?
Note:
- Do not enter any personal information.
- We cannot respond to comments received from this form.
Note: You cannot move animated stickers to a different set.
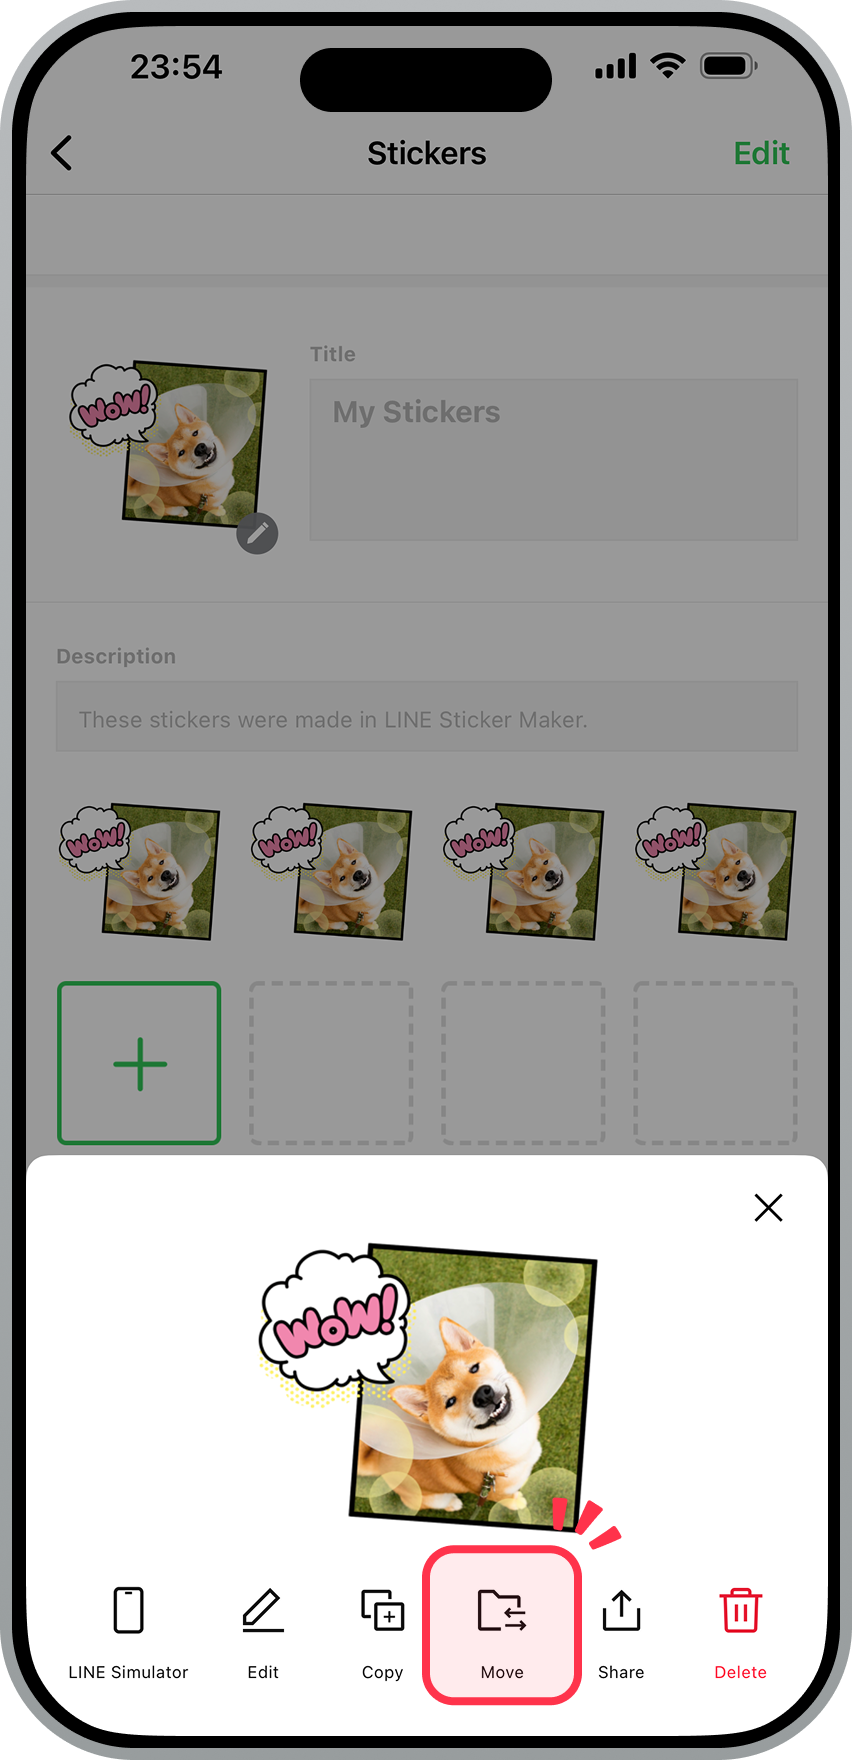
1. Tap the sticker you want to move.
2. Tap Move at the bottom of the screen.
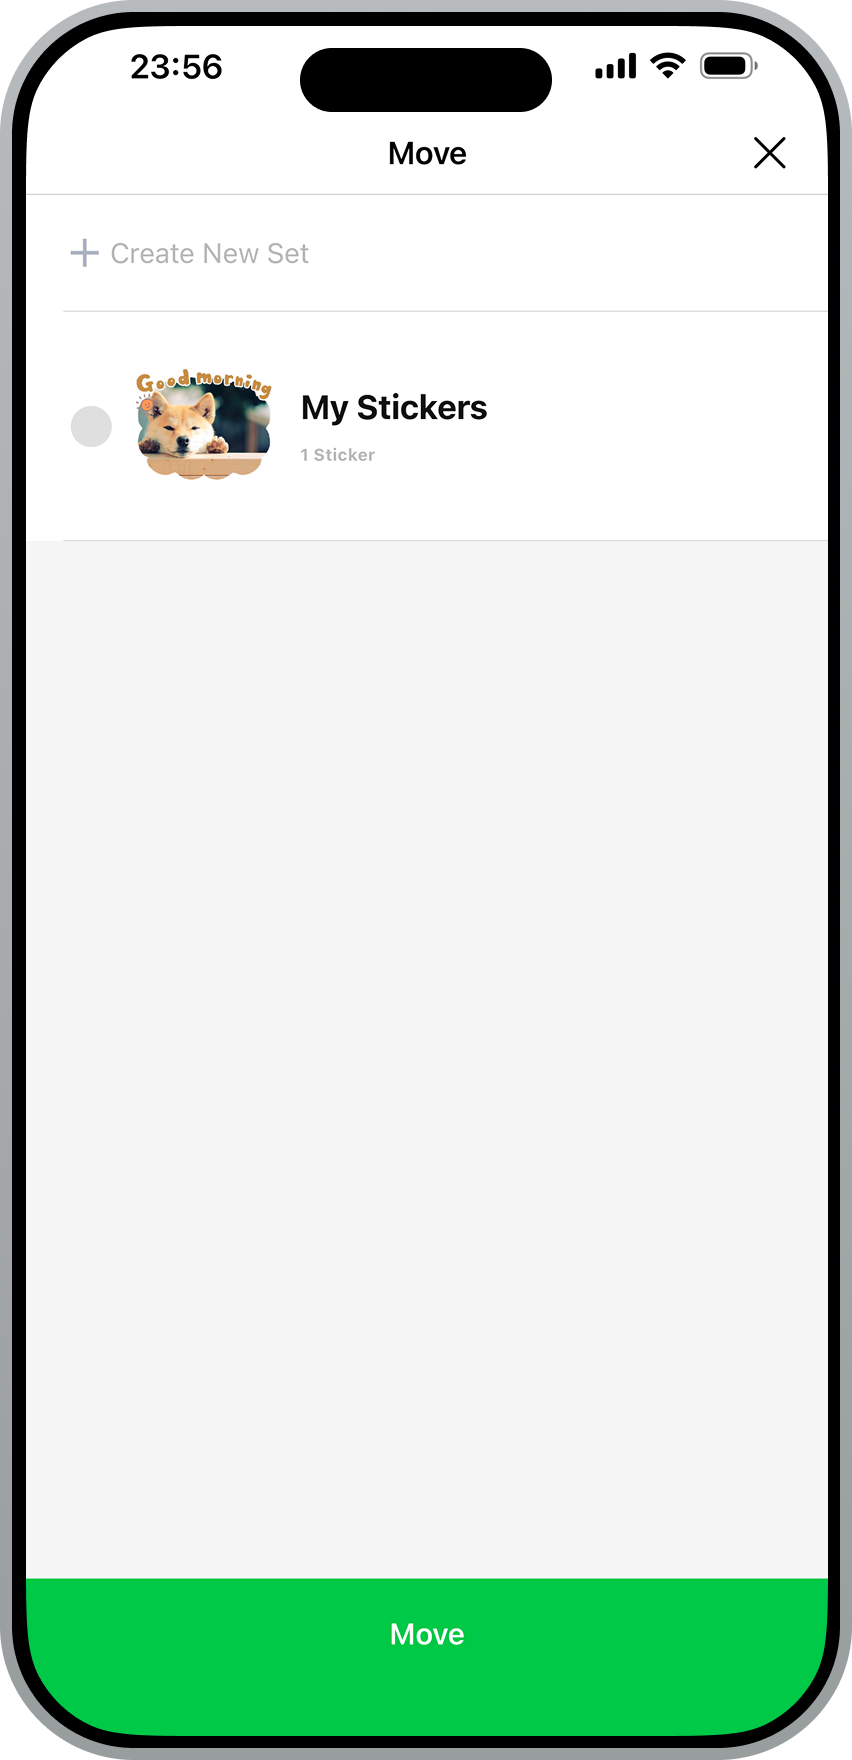
3. Select the name of the sticker set you want to move it to, then tap Move.
Note: If you don't have a different sticker set available, you can create one from +Create New Set.
Was this page helpful?
Thank you for your feedback.
Let us know if we can make it better.
Note:
- Do not enter any personal information.
- We cannot respond to comments received from this form.
Sorry about that. What went wrong?
Note:
- Do not enter any personal information.
- We cannot respond to comments received from this form.
Note: You cannot move multiple animated stickers to a different set.
1. Tap the relevant sticker set.
2. At the top right of the screen, tap Edit > Select Stickers.
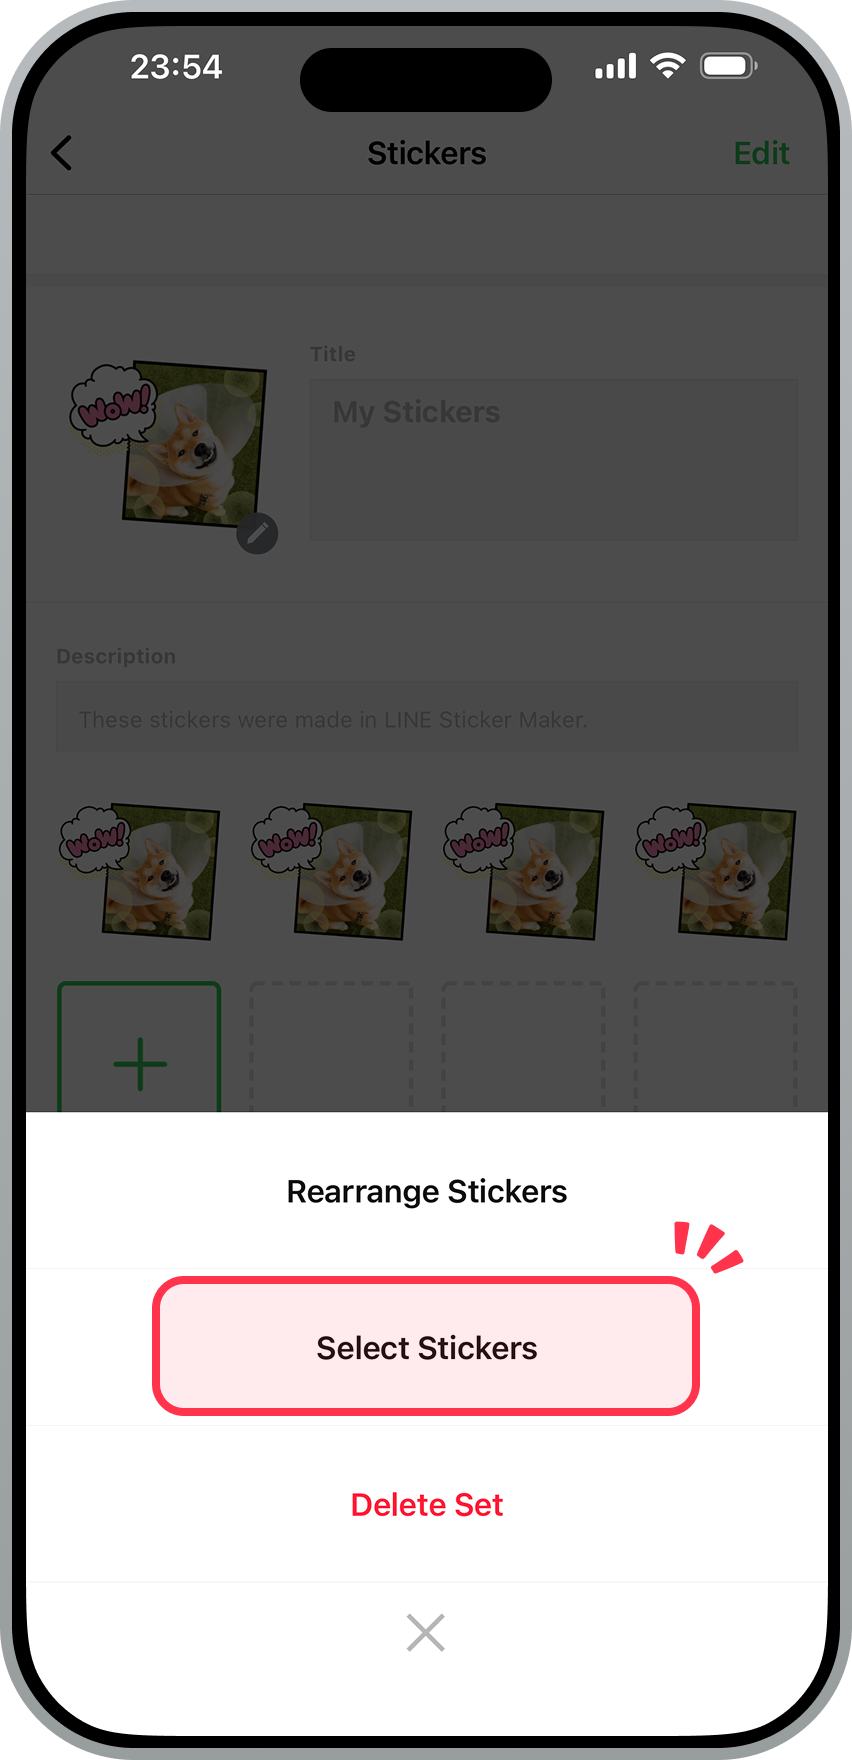
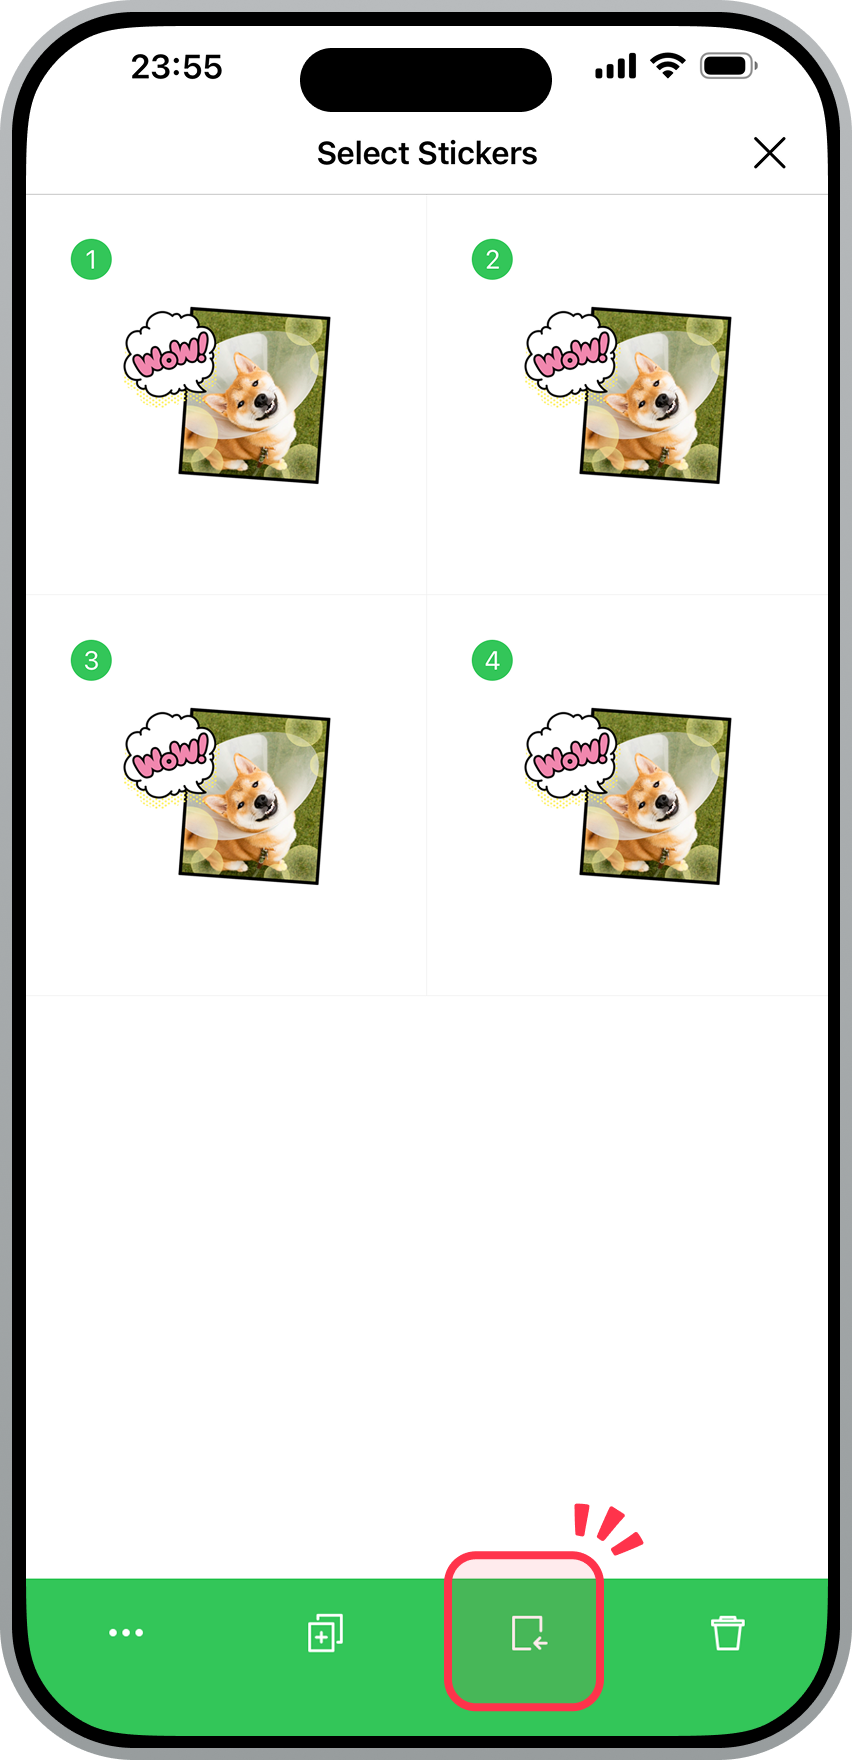
3. Select the stickers you want to move.
4. Tap the move icon at the bottom of the screen.
5. Select the name of the sticker set you want to move them to, then tap Move.
Note: If you don't have a different sticker set available, you can create one from +Create New Set.

Was this page helpful?
Thank you for your feedback.
Let us know if we can make it better.
Note:
- Do not enter any personal information.
- We cannot respond to comments received from this form.
Sorry about that. What went wrong?
Note:
- Do not enter any personal information.
- We cannot respond to comments received from this form.
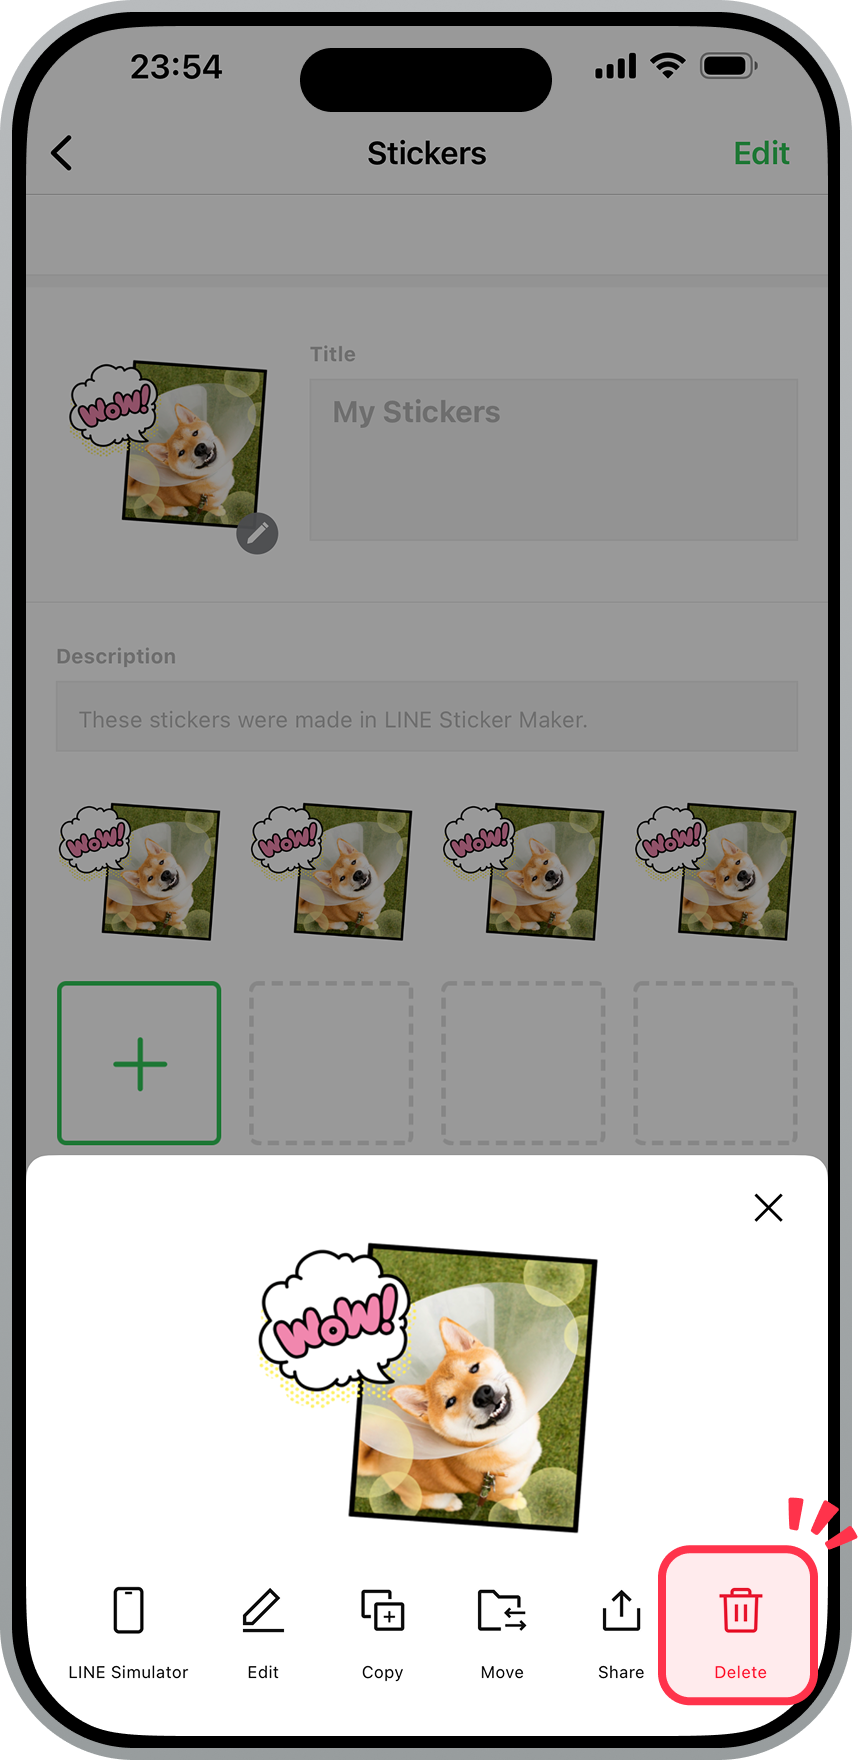
Note: You can only delete stickers that have not yet been submitted for review or sold.
1. Tap the sticker you want to delete.
2. Tap Delete at the bottom of the screen.
| Stickers | Animated stickers |
|---|---|
|
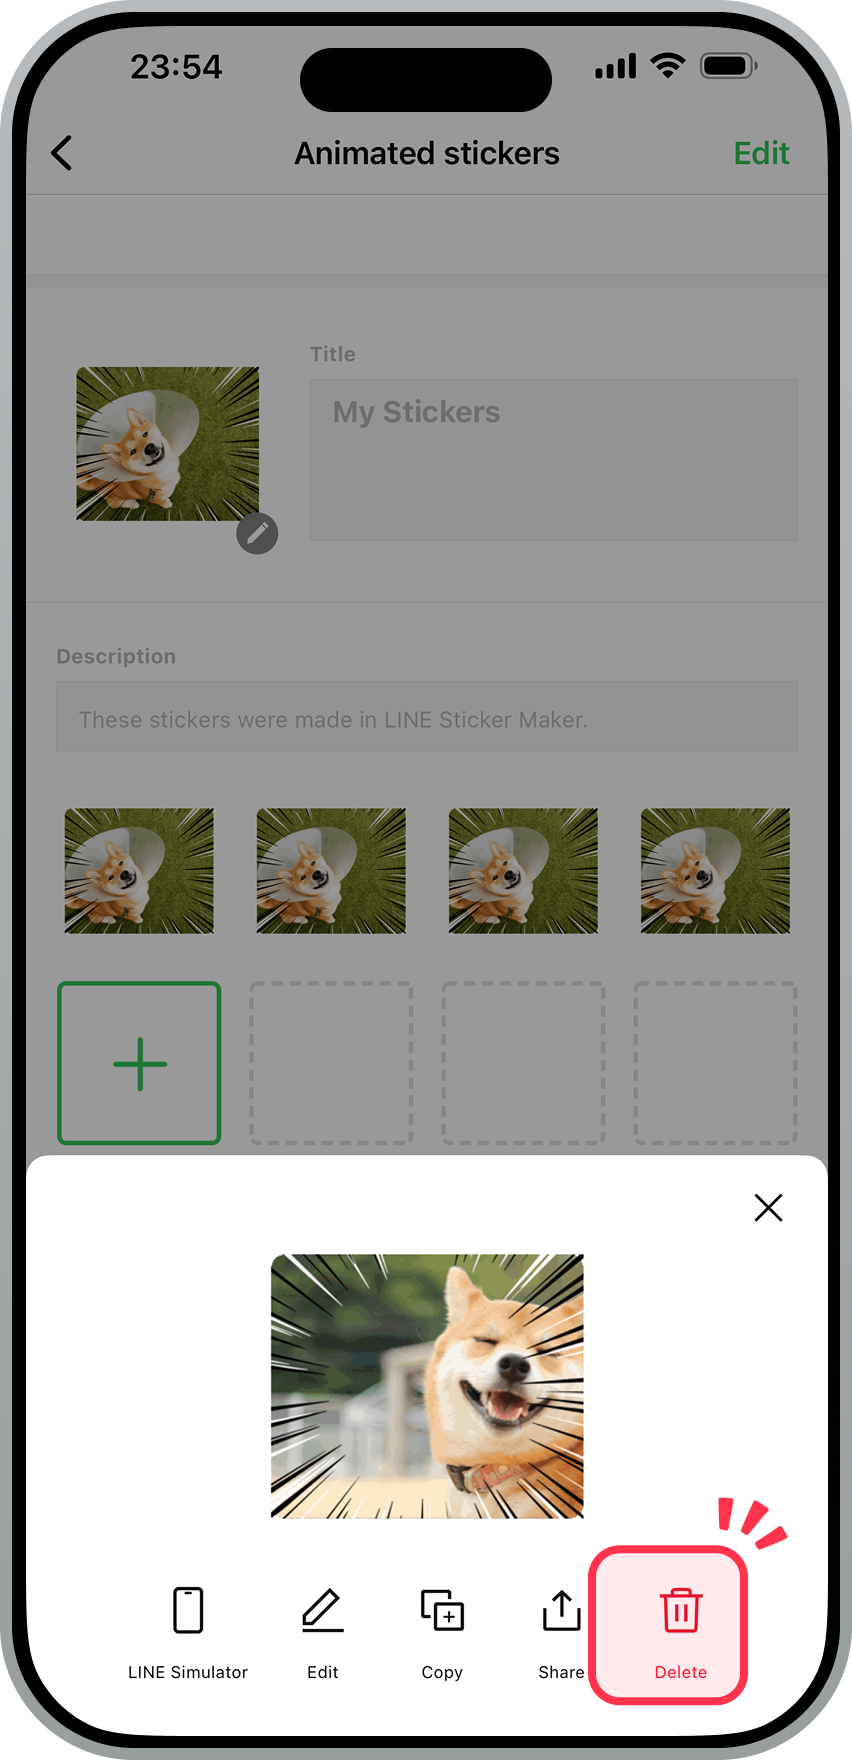 |
3. Read the pop-up message before tapping Delete.
Was this page helpful?
Thank you for your feedback.
Let us know if we can make it better.
Note:
- Do not enter any personal information.
- We cannot respond to comments received from this form.
Sorry about that. What went wrong?
Note:
- Do not enter any personal information.
- We cannot respond to comments received from this form.
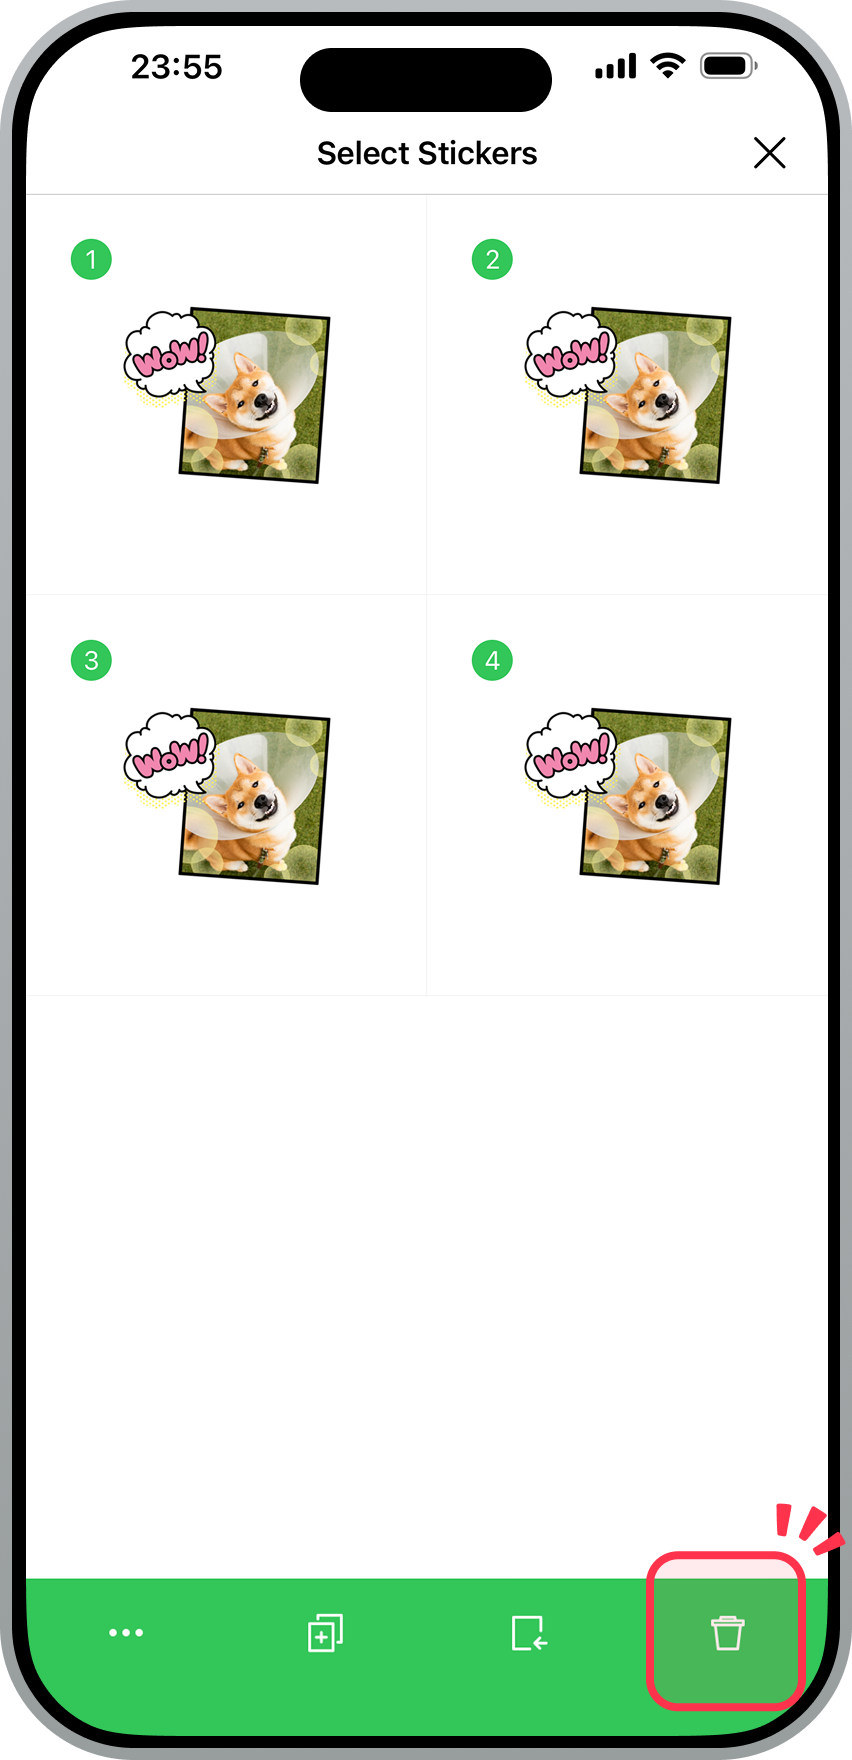
Note: You can only delete stickers that have not yet been submitted for review or sold.
1. Tap the relevant sticker set.
2. At the top right of the screen, tap Edit > Select Stickers.
3. Select the stickers you want to delete.
4. Tap the trash can icon at the bottom of the screen.
| Stickers | Animated stickers |
|---|---|
|
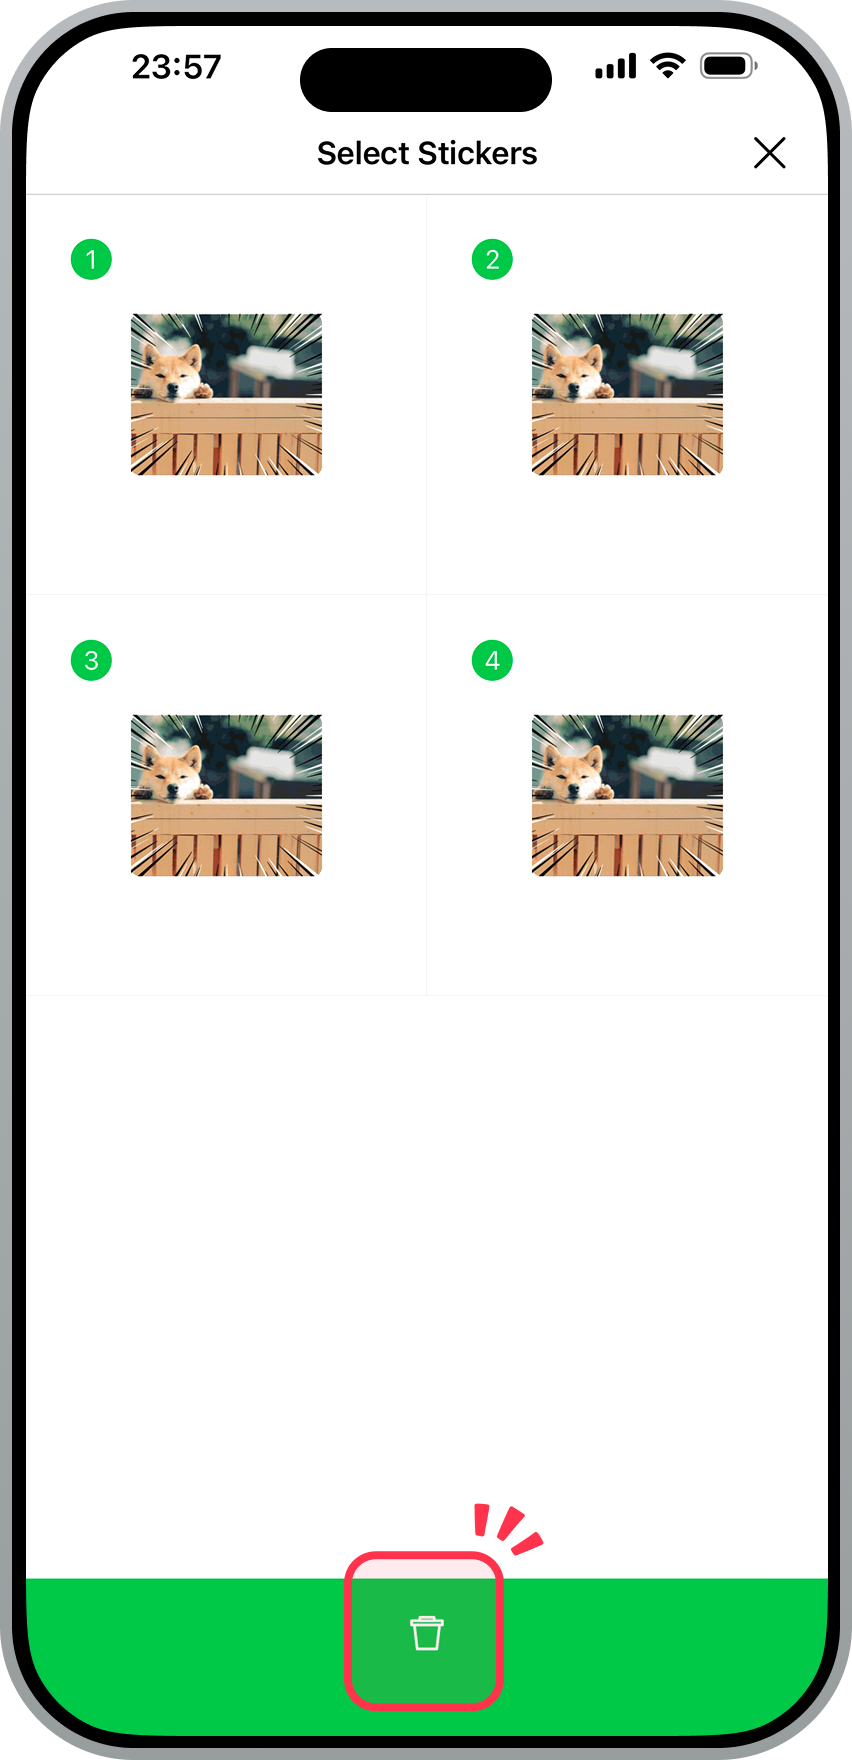 |
5. Read the pop-up message before tapping Delete.
Was this page helpful?
Thank you for your feedback.
Let us know if we can make it better.
Note:
- Do not enter any personal information.
- We cannot respond to comments received from this form.
Sorry about that. What went wrong?
Note:
- Do not enter any personal information.
- We cannot respond to comments received from this form.
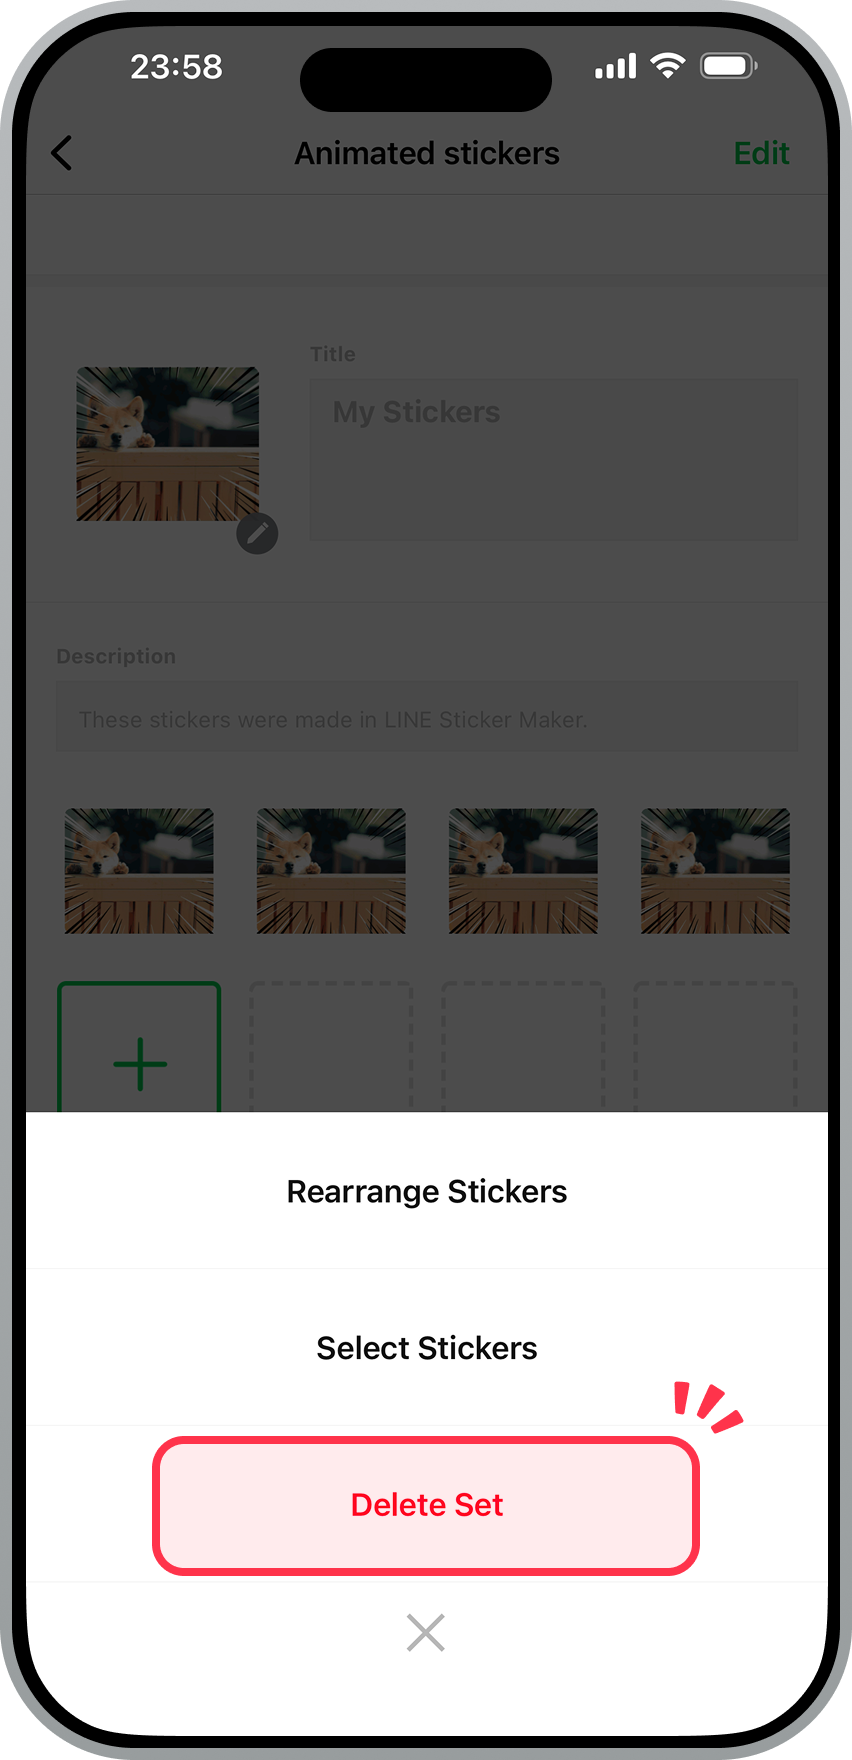
Note: You can only delete sticker sets that have not yet been submitted for review or sold.
You can swipe and delete a sticker set from the HOME screen.

You can also delete a sticker set with the following steps.
To delete a sticker set:
1. Tap the sticker set you want to delete.
2. At the top right of the screen, tap Edit > Delete Set.
| Stickers | Animated stickers |
|---|---|

|
 |
3. Read the pop-up message before tapping Delete.
Was this page helpful?
Thank you for your feedback.
Let us know if we can make it better.
Note:
- Do not enter any personal information.
- We cannot respond to comments received from this form.
Sorry about that. What went wrong?
Note:
- Do not enter any personal information.
- We cannot respond to comments received from this form.
You cannot edit stickers on the LINE Sticker Maker app once they have been submitted for review or are on sale.
Was this page helpful?
Thank you for your feedback.
Let us know if we can make it better.
Note:
- Do not enter any personal information.
- We cannot respond to comments received from this form.
Sorry about that. What went wrong?
Note:
- Do not enter any personal information.
- We cannot respond to comments received from this form.
When you select AI was used for the Use of AI setting on items (stickers, emoji, themes) that you modified or created with AI, an indication will automatically appear on their purchase screens in the LINE Sticker Shop, Theme Shop, and LINE STORE. This informs users which items were modified or created using AI.
Important:
- Set the Use of AI setting to accurately reflect your actual use of AI.
- Please understand that we may change your selection for the Use of AI setting based on our determination.
- We prohibit the submission and sale of items using generated content that mimics the copyrighted work of our company, a third party, or a famous character.
- This includes using the name of such a copyrighted work in an item's title or description to describe the likeness (e.g. "XXXX-style").
- If you used AI to create an item, we may ask you to provide information such as the AI prompt you used. If you're unable to provide it, your item may have its application rejected or be removed from sale. We ask for your understanding in this matter.
- In principle, items registered before the Use of AI section was added will appear as "Unset" (with some exceptions). When items that appear as "Unset" are edited, you will need to set the Use of AI setting.
- If you change only the Use of AI setting after your item is approved but before putting them on sale, you will have to apply for review again. - Changes to the Use of AI setting will be applied within 24 hours.
Was this page helpful?
Thank you for your feedback.
Let us know if we can make it better.
Note:
- Do not enter any personal information.
- We cannot respond to comments received from this form.
Sorry about that. What went wrong?
Note:
- Do not enter any personal information.
- We cannot respond to comments received from this form.
Let us know if we can make it better.
Note:
- Do not enter any personal information.
- We cannot respond to comments received from this form.